
Why are tables of contents important for your website?
What could be better than finally finding the right post after a thorough Google search? All that's missing is a click on the link and bang... the content piece you're looking for is hidden in a long blog post.
After a short search and scan of the post, frustration wins and the website is left again. Without a table of contents and meaningful subheadings, finding the right paragraph is almost impossible.
In the age of YouTube, TikTok and many other platforms with video formats that communicate knowledge quickly and visually, blogs and other text-heavy content formats have tended to be marginalized. Yet blogs are one of the most trusted and most clicked formats on Google (source: Search Engine Journal).
Therefore, there is almost no business and almost no marketing strategy that cannot benefit from blogging and text formats on their website.
Improve the user experience and thus the length of stay on your blog
Once the blog is on your own website, the work is far from done. Regular updates and relevant articles need to be published in order to attract new readers and, of course, new customers to your website in the long term. The problem with many sites: Blogs are treated stepmotherly, there is no decent navigation and important content is not highlighted.
So, an automatic table of contents for your posts can lead to the following benefits:
- better user experience due to easy navigation of posts
- easy finding of important content
- better readability and less congestion due to long texts
- emphasis of important sections and content you want to highlight
- lower bounce rate
- Increase page views through higher satisfaction
So by taking one simple action, you'll perspectively increase the satisfaction of your website visitors and thus increase the time they spend on your blog.
Satisfaction = Higher Reach and Conversion Rate
Once readers are satisfied with your content, it's no surprise if they come back regularly and build a higher level of trust in your business. More sub-pages will be visited and your business will be seen as relevant in your industry.
The probability that a call is booked with you, your e-book is downloaded or a product purchase is made directly therefore increases massively.
Pro tip from the VE team: Work with conversion elements in your posts and encourage readers to take action.
Optimize your content for search engines (SEO)
Another benefit your blog gets from a table of contents is that content is always well structured and thus better indexed by search engines. Through clear semantics and the signal effect of your table of contents, Google can add so-called jump links to the search results. A jump link is a point of your table of contents, which is displayed directly in the search results and allows a jump directly to this heading.
Current options for tables of contents in Webflow
Webflow does not offer a native way to generate a table of contents for your rich text elements until today (as of 10/2023). So far, nothing has been announced in this direction, not even in Webflow Professional Experts circles. How you can currently generate a table of contents in Webflow anyway:
1. Manual setup
The technically easiest way, but also the most error-prone, is to set up tables of contents for your rich text elements manually. With the help of anchor links and custom HTML attributes in the headlines, you can build your own tables of contents relatively easily. The problem here is the low scalability with regard to content-heavy websites and CMS collections.
2. Third Party Tools
The problem has of course been known for a long time and so it is not surprising that there are several third-party solutions for automatic tables of contents in Webflow. The best known solution is the one from Finsweet Attributes, but it requires minimal experience in working with custom data attributes and setting up custom code solutions, so it's not necessarily beginner friendly. Otherwise, there are some other solutions such as from Letterdrop and Flowrite, but these solutions also require some technical and in-depth webflow know-how.
3. Custom Code
Custom code in Webflow is always a thing. Some love it, others say, "I'm already using a no-code tool and now I still have to fiddle with code." However, if you know a bit about custom code, you can either write a custom JavaScript yourself that generates tables of contents for you, or embed external code modules that promise you a solution. The problem here can be the usability for you, which could be limited with lower code knowledge.
Automatic table of contents with the solution from VE Resources
Probably the easiest way to generate a table of contents for Webflow Rich Text Elements (of course also for CMS posts) is the "Automatic ToC" from VE Resources. Once integrated, you can style the finished layout according to your preferences. The table of contents automatically displays all H2 and H3 headings of your rich text as clickable links, making navigation of your content a breeze.
How can I use the Automatic ToC from VE Resources?
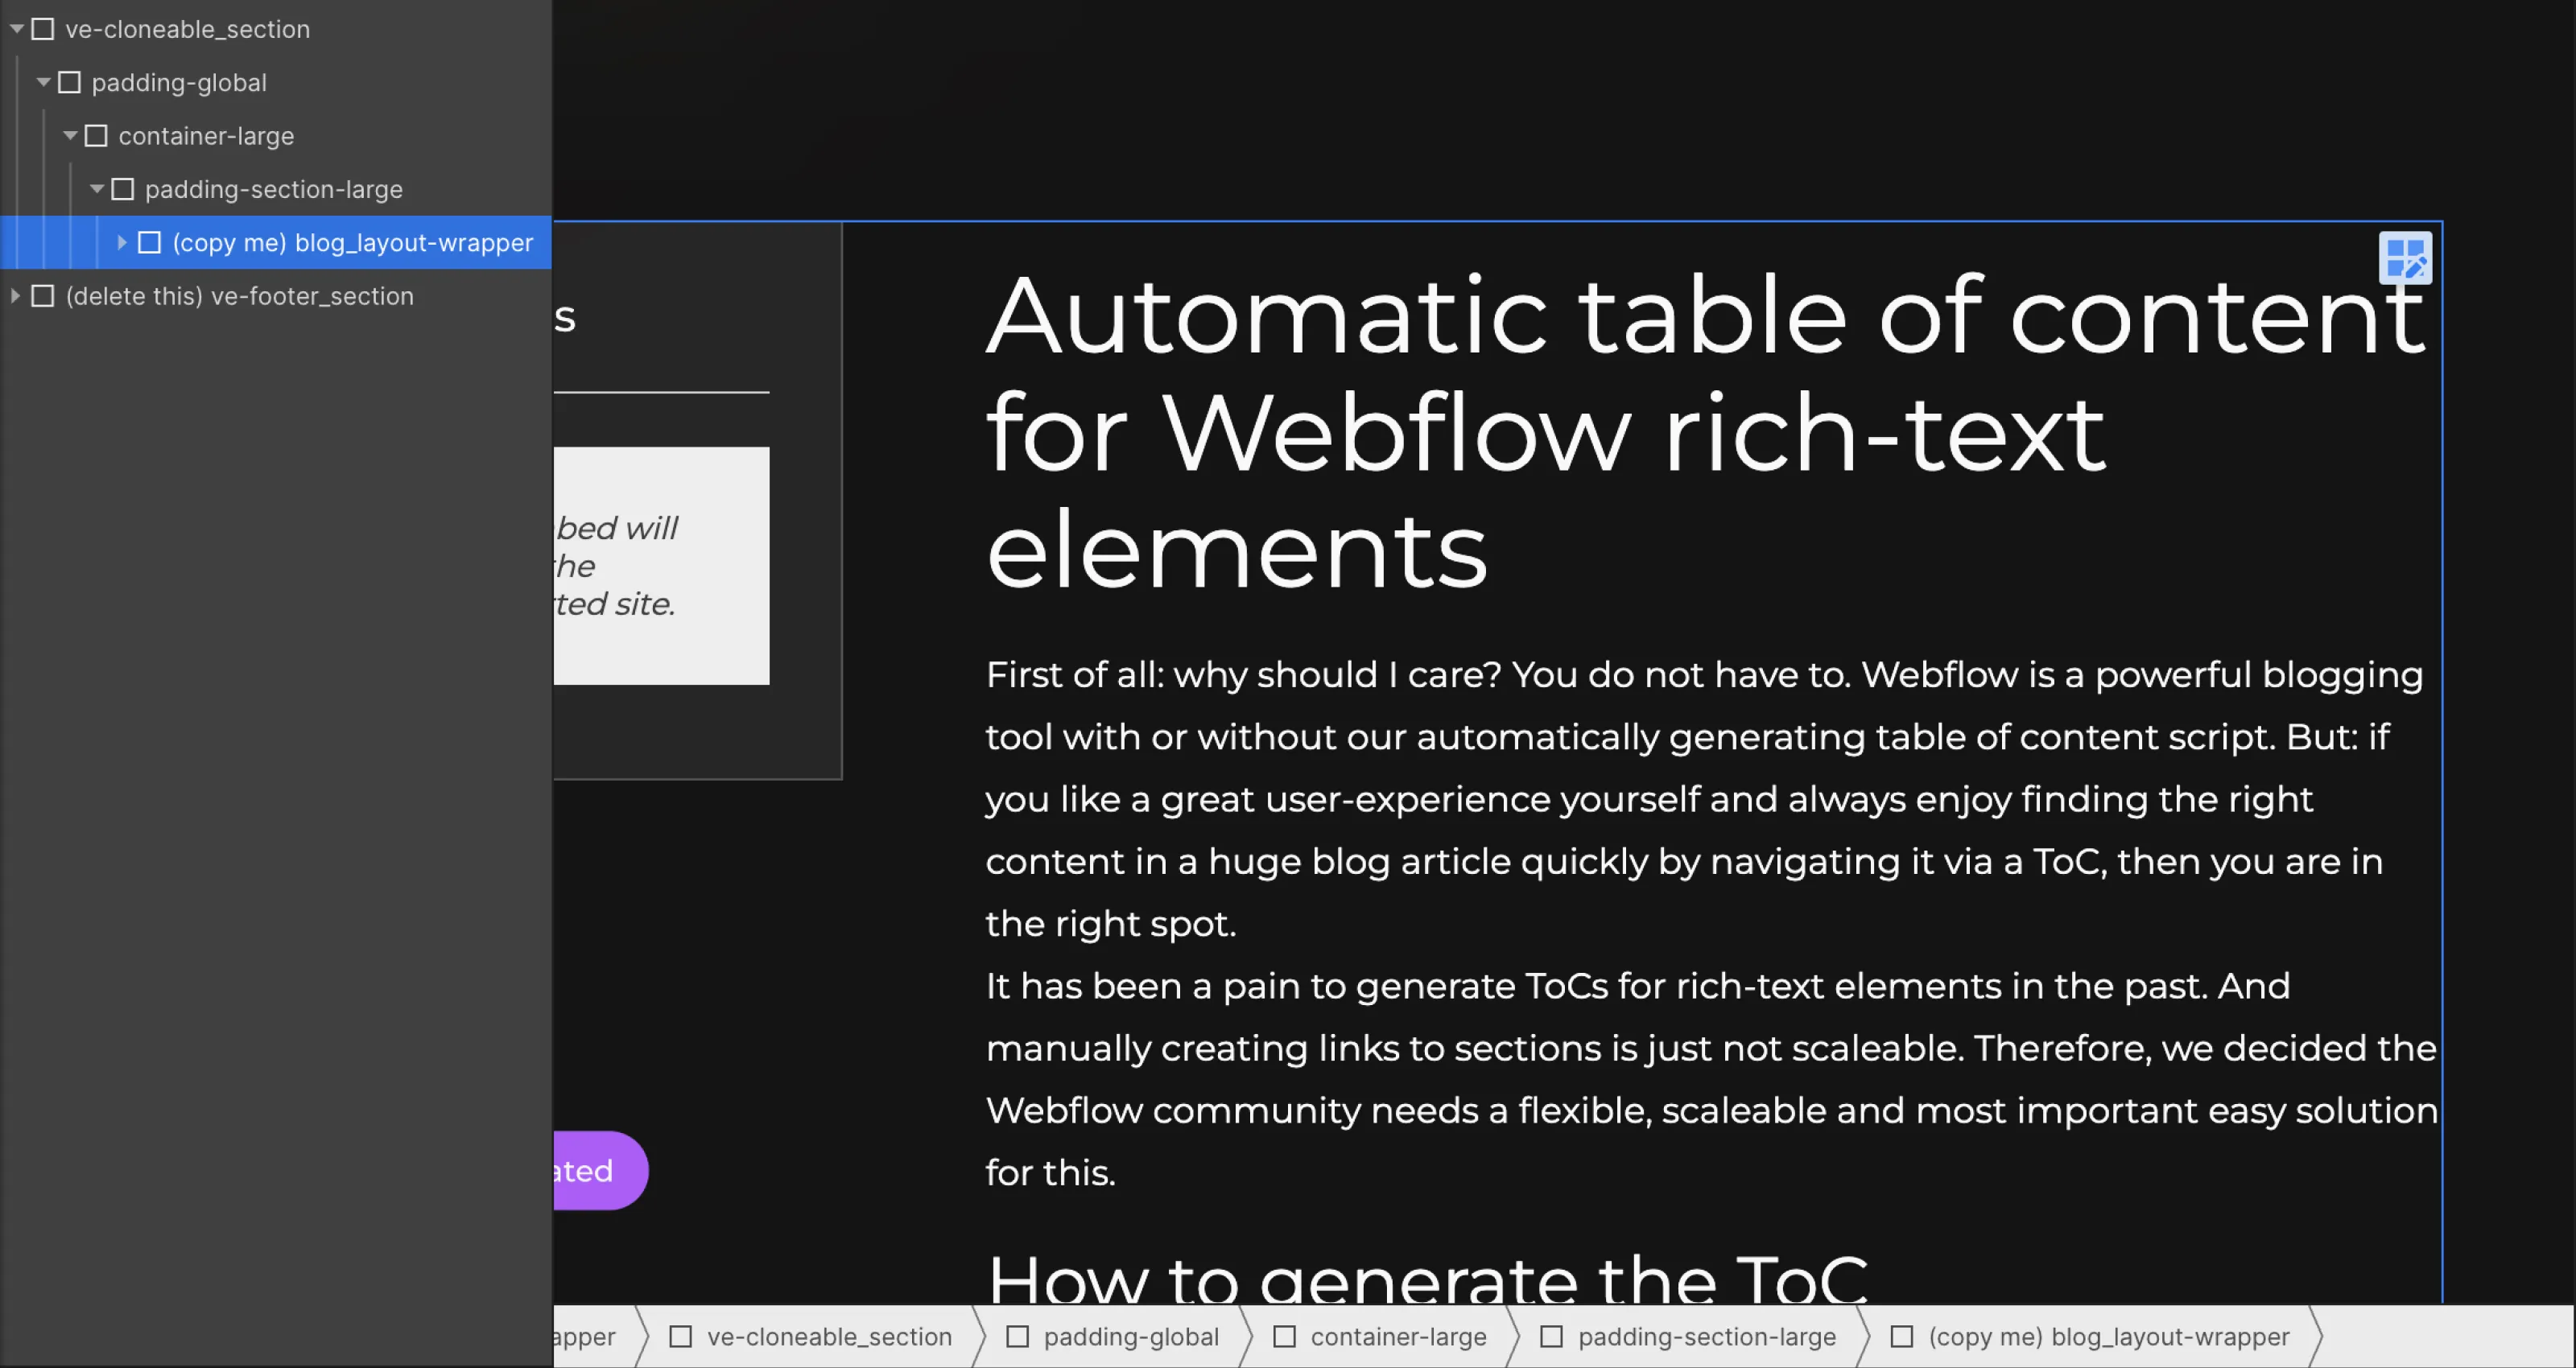
To do so, simply clone this project and copy and paste the "(copy me) blog_layout-wrapper" into your own project (as shown in the picture below). You don't need anything else. The code that is necessary to generate the ToC is directly embedded in the section and it will therefore work perfectly with your own static or cms-based rich text.
After pasting you will find the component 100% customizable in your Webflow Designer and you can style everything as you like.
Can I style the ToC to my liking?
The Automatic ToC comes with minimal styling of its own, so you can use it directly. However, if you want to give your table of contents your own personal touch, here's a little documentation on how you can restyle the list, the list items, and the links of your table of contents:
Step 1: Insert the code from the HTML Embed: (custom code) toc_script into an HTML Embed in a <div> within your website. This <div> will display the table of contents in the future. Give the <div> the ID: toc-wrapper to complete this step.
Step 2: Next, you need to ensure that the Rich Text Element to be summarized in the table of contents has a div wrapper with the ID: content.
Step 3: To design the table of contents list, simply use the class: toc_uolist (apply this class to any unordered list anywhere in your Webflow project and style the list to your liking). To style the list items, use the class: toc_item (apply it to any list item) and the class: toc_link to style the links in the table of contents (apply it to any link).
Step 4: If you finally want to add an “Active State” to your links, give the link with the class: toc_link the combo-class: toc_is-active. You can now style this combo class as active links in your table of contents should look."